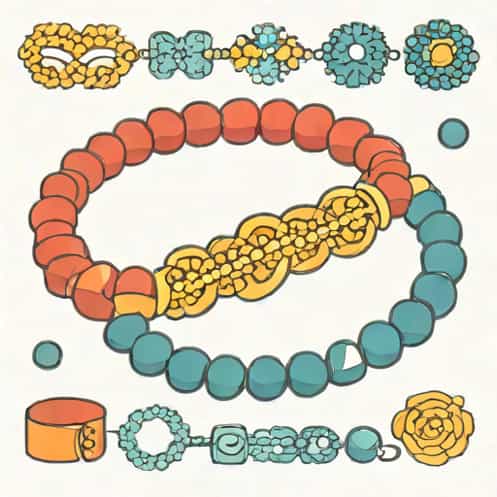
Making jewelry by hand is a creative and relaxing activity that allows you to express your personal style while learning a useful skill. One popular beginner-friendly project is learning how to make a beaded bracelet with clasp. This type of bracelet is durable, adjustable to different designs, and suitable for everyday wear or special occasions. With the right tools, basic materials, and a bit of patience, anyone can create a beautiful beaded bracelet that looks professionally made.
Understanding the Basics of a Beaded Bracelet with Clasp
A beaded bracelet with a clasp is a piece of jewelry where beads are strung together on a flexible or semi-rigid material and secured using a clasp mechanism. The clasp allows the bracelet to be easily worn and removed while keeping it firmly in place.
There are many variations of beaded bracelets, but the clasped version is especially popular because it offers a polished and finished look. It also provides better security compared to stretch bracelets.
Materials Needed Before You Begin
Before starting, it is important to gather all the necessary supplies. Having everything ready will make the process smoother and more enjoyable.
Essential Materials
- Beads of your choice (glass, wooden, crystal, or metal)
- Beading wire, nylon thread, or jewelry cord
- A clasp (lobster clasp, toggle clasp, or magnetic clasp)
- Crimp beads
- Jewelry pliers (round-nose and flat-nose)
- Scissors or wire cutters
Choosing quality materials is important, especially the clasp and beading wire, as these parts affect durability.
Choosing the Right Beads and Clasp
The design of your bracelet depends largely on bead size, color, and texture. Smaller beads create a delicate look, while larger beads make a bold statement. Mixing bead shapes can add visual interest.
When selecting a clasp, consider ease of use and style. Lobster clasps are secure and common, toggle clasps are decorative and easy to fasten, and magnetic clasps are convenient but may be less secure for heavy bracelets.
Measuring Your Wrist and Planning the Design
Accurate measurement is key when learning how to make a beaded bracelet with clasp. Use a flexible measuring tape or string to measure your wrist snugly but comfortably.
Add about half an inch to one inch to your wrist measurement to allow room for movement and the clasp. Lay out your beads in the desired order before stringing them to ensure the design looks balanced.
Preparing the Beading Wire or Thread
Cut a length of beading wire that is about four inches longer than your final bracelet length. This extra length allows space to attach the clasp properly.
If you are using nylon thread or cord, make sure it is strong enough to support the weight of the beads and resistant to wear.
Attaching the First Part of the Clasp
To begin assembling your bracelet, slide one crimp bead onto the beading wire, followed by one half of the clasp.
Loop the wire back through the crimp bead, leaving a small loop around the clasp. Use flat-nose pliers to gently flatten the crimp bead, securing the clasp in place.
Stringing the Beads
Once the first clasp piece is attached, begin sliding the beads onto the wire according to your planned design. Take your time and check the pattern occasionally to make sure it matches your vision.
If your design includes spacer beads or accents, place them carefully to maintain symmetry and flow.
Tips for Stringing Beads
- Keep beads in small containers to avoid spills
- Double-check bead hole size for smooth threading
- Periodically test the bracelet length on your wrist
Securing the Second Part of the Clasp
After all beads are strung, slide another crimp bead onto the wire, followed by the second half of the clasp.
Loop the wire back through the crimp bead and then thread it through the last few beads to hide the excess wire. Use pliers to flatten the crimp bead securely.
Finishing Touches and Adjustments
Once both ends are secured, inspect the bracelet carefully. Make sure the crimps are tight, the clasp functions smoothly, and no sharp wire ends are exposed.
Trim any excess wire if necessary and gently press beads into place for a clean finish.
Common Mistakes to Avoid
Beginners sometimes make small errors when learning how to make a beaded bracelet with clasp. Being aware of these mistakes can save time and frustration.
Frequent Errors
- Using wire that is too thin or weak
- Over-crimping, which can damage the wire
- Forgetting to account for clasp length
- Not testing the bracelet fit before finishing
Exploring Different Styles and Variations
Once you master the basic technique, you can experiment with different bracelet styles. Multi-strand bracelets, charm additions, or mixed materials can add complexity and creativity.
Changing bead color palettes allows you to design bracelets for different occasions, seasons, or personal preferences.
Why Making Beaded Bracelets Is Worthwhile
Creating jewelry by hand is not only a fun hobby but also a way to develop fine motor skills and design sense. Handmade beaded bracelets with clasps make meaningful gifts and can even be sold as custom accessories.
The satisfaction of wearing something you made yourself adds emotional value to the finished piece.
Caring for Your Beaded Bracelet
To keep your bracelet looking new, store it in a dry place away from direct sunlight. Avoid exposing it to water, perfume, or harsh chemicals.
Regularly check the clasp and crimps to ensure they remain secure, especially if the bracelet is worn frequently.
Learning how to make a beaded bracelet with clasp is an accessible and rewarding skill for beginners and experienced crafters alike. With simple tools, thoughtful design, and careful assembly, you can create a bracelet that is both stylish and durable.
As you practice, your confidence and creativity will grow, allowing you to explore more advanced jewelry-making techniques while enjoying the process every step of the way.