Removing grout from tile is a common task for homeowners and DIY enthusiasts, especially when renovating a bathroom, kitchen, or other tiled area. Grout can become discolored, cracked, or simply outdated, making it necessary to remove and replace it for aesthetic or functional reasons. However, getting grout off tile without damaging the surface requires the right tools, techniques, and patience. Understanding the process can save time, reduce frustration, and ensure that the tiles remain intact for a fresh, clean look after regrouting.
Understanding Grout and Its Challenges
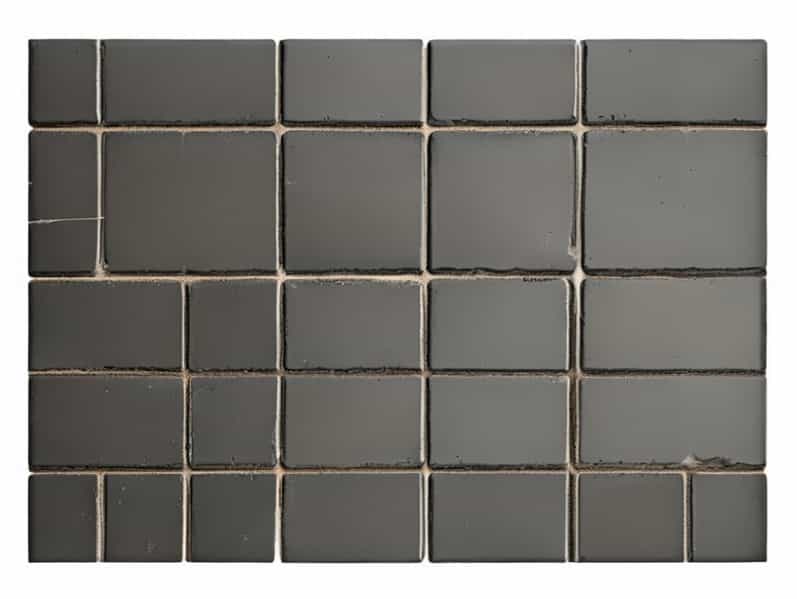
Grout is a cement-like substance used to fill the spaces between tiles, providing stability, preventing water seepage, and enhancing the overall appearance of a tiled surface. Over time, grout can become stained, worn, or cracked, which not only affects the look but can also compromise the integrity of the tiled surface. Removing grout can be challenging because it bonds strongly to both the tiles and the underlying substrate, and improper techniques can scratch or chip the tile.
Common Reasons to Remove Grout
- Discoloration or staining that cannot be cleaned.
- Cracks or crumbling grout that threatens tile stability.
- Changing the color or style of grout during renovation.
- Preparing tiles for resealing or refinishing.
Recognizing the reason for removal helps determine the best method, as some tiles may be more delicate or require specialized tools.
Tools and Materials Needed
Before beginning the grout removal process, it’s important to gather the proper tools. The choice of tools depends on the size of the area, type of tile, and personal preference for manual versus power tools.
- Grout saw or grout removal toolA handheld tool designed specifically for scraping grout from tile joints.
- Oscillating multi-tool with grout removal bladeUseful for larger areas and can reduce manual effort.
- Utility knifeCan help loosen small sections of grout, particularly in corners.
- Scraper or putty knifeHelps lift loosened grout without scratching the tile.
- Vacuum or brushTo clean debris and dust as grout is removed.
- Safety equipmentGloves, goggles, and a dust mask to protect hands, eyes, and lungs from debris.
Preparation Steps
Proper preparation ensures a smoother grout removal process and reduces the risk of tile damage. Key steps include
- Cleaning the tile surface to remove dirt and residues.
- Marking grout lines or areas to avoid accidental damage to tiles.
- Removing fixtures or obstacles near the tiles, if possible.
- Ventilating the area to minimize dust accumulation and improve safety.
Manual Grout Removal Techniques
For smaller areas or delicate tiles, manual removal may be the best approach. Manual techniques require patience but allow for more control over the process.
Using a Grout Saw
Grout saws have a serrated edge designed to scrape away grout from between tiles. Steps include
- Place the saw at a 45-degree angle against the grout line.
- Gently push and pull along the line, removing grout gradually.
- Work in small sections to avoid chipping or scratching the tile.
Utility Knife Method
A utility knife can be used for narrow grout lines or corners where other tools cannot reach
- Score the grout line carefully with the blade.
- Apply gentle pressure to lift and remove loosened grout.
- Be cautious to avoid cutting into the edges of the tiles.
Power Tool Techniques
For larger areas or more extensive grout removal, power tools like an oscillating multi-tool with a grout removal blade can save significant time and effort. These tools provide precision and speed but require steady hands and careful operation.
Using an Oscillating Multi-Tool
- Attach the grout removal blade to the oscillating tool.
- Set the tool to a low speed to start and guide the blade along grout lines.
- Remove small sections at a time to prevent overheating or damaging the tile.
- Use a vacuum or brush to clean debris frequently for clear visibility.
Cleaning After Grout Removal
Once the grout is removed, the area should be thoroughly cleaned to prepare for new grout or other treatments
- Vacuum the joints and tile surface to remove dust and loose ptopics.
- Wipe the tiles with a damp cloth to remove residual dust.
- Inspect tiles for chips or scratches and make minor repairs if necessary.
- Ensure grout lines are smooth and even for easier application of new grout.
Tips for Avoiding Tile Damage
Removing grout without damaging tile requires care and attention. Some helpful tips include
- Test tools on a small, inconspicuous area first.
- Work slowly and avoid applying excessive pressure.
- Use appropriate blades or tips for the type of tile, especially for ceramic, porcelain, or natural stone.
- Keep the workspace clean to prevent dust from scratching the tile surface.
- Wear safety gear to protect yourself from dust and sharp edges.
When to Seek Professional Help
While many homeowners can remove grout themselves, some situations may require professional assistance
- Large areas that would require extensive time and effort.
- Delicate or antique tiles that are prone to chipping.
- Complex patterns or grout lines that are difficult to access.
- When replacing grout with specialized materials or colors that require precise preparation.
Getting grout off tile is a process that demands patience, the right tools, and careful technique. Whether using manual methods like grout saws and utility knives or power tools such as oscillating multi-tools, preparation and precision are key to avoiding damage. Cleaning after removal, maintaining safety, and applying tips to protect tiles ensures a smooth surface ready for new grout or tile treatments. While DIY methods work for small to medium projects, professional help may be necessary for larger or more delicate jobs. With proper approach, grout removal can refresh the appearance of a tiled area and set the stage for long-lasting, attractive results.
By following these strategies and understanding the steps involved, homeowners can confidently tackle grout removal and achieve a polished, clean finish that enhances the beauty and longevity of their tiled surfaces.